

Over the past few years, Microsoft’s Windows 10 has improved a lot. The desktop operating system has gotten better in terms of features and stability. But it still lacks in one section – user experience.
Microsoft lacks customization options when it comes to improving the user experience. For example, if you use lots of third-party software, the right-click menu will be cluttered with countless options. The bloated context menu takes time to load, and it looks terrible.
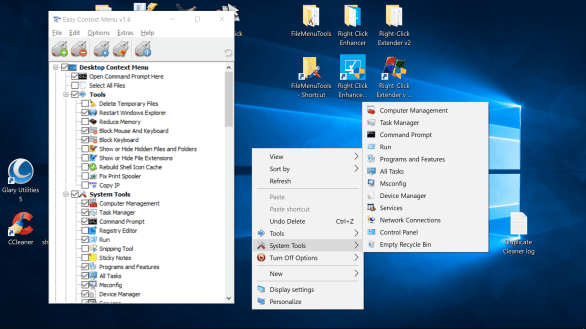
In our opinion, it’s always best to customize the right-click menu for Windows 10. You can customize the right-click context menu to remove app extensions that you rarely use. So, in this article, we are going to share the best method to customize the right-click menu on Windows 10.

How to Customize the Right-click Menu on Windows 10 PC
To customize the Right-click menu on Windows 10, we need to use software known as ShellExView. It’s a lightweight program developed by Nirsoft. It allows users to disable context menus, filter extensions, etc. So, let’s check out how to use ShellExView on Windows 10.
Step 1. First of all, download ShellExView on your Windows 10 computer from this link.
Step 2. Once downloaded, install the software on your PC.

Step 3. Now, you will see the main interface of the software.

Step 4. Next, click on ‘Options’ and then select ‘Hide all Microsoft Extensions’

Step 5. Now you need to go through the list and disable the apps that you don’t want to see in the right-click menu. For that, right-click on the app name and choose ‘Disable Selected Items’

Step 6. After making the changes, click on ‘Options’ and then select ‘Restart Explorer’

That’s it! You are done. Now you will see an entirely different context menu.
So, this is how you can customize the right-click menu on Windows 10 computer.
Discover more from Spyboy blog
Subscribe to get the latest posts sent to your email.
